


How to Clean Your Gaming PC for Performance
- How to Clean Your Gaming PC for Performance
- Why Bother? The Performance Connection
- Overheating is Your Enemy
- Throttling: The Performance Killer
- Longevity and Component Health
- Gathering Your Arsenal: Tools You'll Need
- The Essentials
- Optional (But Recommended)
- Safety First: Before You Begin
- Power Down Completely
- Static Electricity Awareness
- Work in a Well-Ventilated Area
- Take Photos
- The Cleaning Process: Step-by-Step
- Open Her Up
- Initial Dust Blow-Out (General)
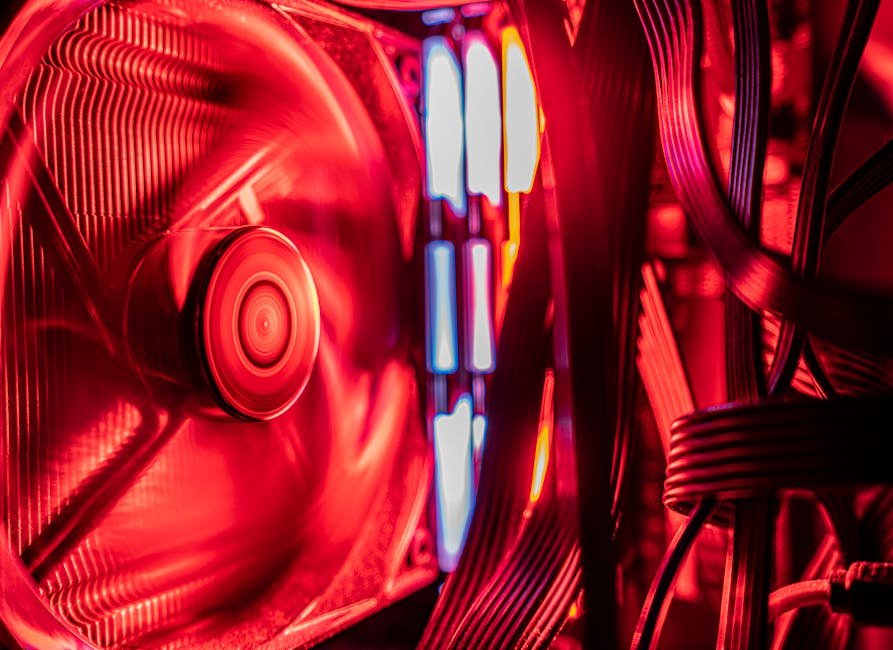
- Fan Cleaning (Crucial)
- Radiators and Heatsinks
- Graphics Card (GPU) Care
- Motherboard and Components
- Power Supply Unit (PSU)
- Cable Management (Optional but Recommended)
- Exterior Clean-Up
- The "Deep Dive": Thermal Paste
- When to Consider It
- The Process (Briefly)
How to Clean Your Gaming PC for Performance
Your gaming PC is a powerful machine, but even the mightiest hardware has a silent enemy: **dust**. Over time, dust bunnies accumulate, creating a furry blanket over your precious components. This isn’t just an aesthetic issue; it’s a performance killer. A dusty PC runs hotter, slower, and can even shorten the lifespan of your expensive parts.
But fear not! Giving your gaming rig a proper clean is simpler than you think. This comprehensive guide will walk you through the process, ensuring your PC not only looks pristine but also performs at its peak.
—
Why Bother? The Performance Connection
Cleaning your PC isn’t just about sparkling surfaces; it’s directly linked to how well your games run and how long your system lasts.
Overheating is Your Enemy
Dust acts as an insulator. When it coats heatsinks and fans, it traps heat inside your PC case. This forces your components – especially your CPU and GPU – to work at higher temperatures. Think of it like trying to run a marathon in a winter coat on a hot day.
Throttling: The Performance Killer
To prevent damage from excessive heat, modern CPUs and GPUs automatically “throttle” their performance. This means they intentionally slow down, reducing their clock speed to generate less heat. The result? Lower frame rates, stuttering gameplay, and a generally less responsive experience. You’re paying for top-tier performance, don’t let dust rob you of it!
Longevity and Component Health
Consistent high temperatures stress electronic components. While they’re designed to withstand a certain amount of heat, prolonged exposure to extreme temperatures can significantly reduce their lifespan. Regular cleaning helps keep temperatures in check, protecting your investment and preventing premature hardware failure.
—
Gathering Your Arsenal: Tools You'll Need
Before you dive in, make sure you have the right tools for the job. Having everything ready will make the process smoother and safer.
The Essentials
* **Compressed Air (Canned Air):** Your primary weapon against dust. Use short bursts and hold the can upright to prevent propellant discharge. Keep a safe distance (6-12 inches) from components.
* **Microfiber Cloths:** Lint-free cloths are perfect for wiping down surfaces without leaving residue.
* **Isopropyl Alcohol (90%+):** Great for cleaning stubborn grime or residue, especially on fan blades or contacts. Ensure it’s 90% concentration or higher to evaporate quickly.
* **Cotton Swabs/Q-tips:** Ideal for reaching tight spaces and delicate areas.
* **Small Screwdriver Set:** You’ll likely need a Philips head screwdriver to open your case and potentially remove components.
* **Zip Ties or Velcro Straps:** Handy for improving cable management and airflow after cleaning.
Optional (But Recommended)
* **Anti-Static Wrist Strap:** Connects you to the PC case, safely discharging static electricity that could harm components.
* **Small Soft Brush:** A clean, soft-bristled paintbrush or anti-static brush can help dislodge dust from fins and crevices.
* **Thermal Paste:** If you plan a “deep dive” (see below), you’ll need new thermal paste for your CPU.
* **Non-Conductive Wipes:** For general internal cleaning.
—
Safety First: Before You Begin
Safety is paramount when working with electronics. Follow these steps to protect both yourself and your PC.
Power Down Completely
This isn’t just turning off the PC. Unplug the power cable from the wall and the back of your PC. It’s also a good idea to flip the switch on your Power Supply Unit (PSU) to the “off” position (usually marked with ‘0’).
Static Electricity Awareness
Static discharge can fry delicate components. Work on a non-carpeted surface if possible. Use an anti-static wrist strap connected to a metal part of your PC case, or periodically touch an unpainted metal object (like a radiator) to ground yourself.
Work in a Well-Ventilated Area
You’re about to release a lot of dust. Work outdoors or in a garage if possible. If indoors, open windows and consider wearing a mask.
Take Photos
Before you start unplugging or disassembling anything, take a few photos of your PC’s internals. These can be lifesavers if you forget where a cable goes or how something was mounted.
—
The Cleaning Process: Step-by-Step
Now for the fun part! Let’s get that dust out.
Open Her Up
Carefully unscrew and remove the side panel(s) of your PC case. Most modern cases have thumbscrews or a simple latch mechanism.
Initial Dust Blow-Out (General)
Start by giving the entire interior a general blast with compressed air. Hold the can upright and use short, controlled bursts from a safe distance. Don’t let your fans spin rapidly from the air; gently hold them in place with a finger while you blow around them.
Fan Cleaning (Crucial)
Fans are dust magnets. Clean them meticulously.
* **CPU Cooler Fan(s):** If your CPU cooler has a fan, carefully unclip or unscrew it (if easily removable). Use compressed air to blow dust out of the heatsink fins. Wipe the fan blades with a microfiber cloth or a cotton swab dampened with isopropyl alcohol.
* **GPU Fans:** Your graphics card typically has 1-3 fans. Use compressed air to clear dust from the fan blades and the heatsink fins underneath. Be gentle around the delicate fins.
* **Case Fans:** Clean all intake and exhaust fans (front, top, rear). Hold them still and blast dust from the blades and surrounding grilles.
Radiators and Heatsinks
If you have an All-in-One (AIO) liquid cooler or a custom water loop, focus on cleaning the radiator fins. For air coolers, ensure the CPU heatsink fins are free of dust. Compressed air is your best friend here.
Graphics Card (GPU) Care
The GPU is often the hottest component and attracts a lot of dust.
* Carefully blow compressed air through the fins of the GPU’s heatsink.
* Wipe down the shroud and fan blades.
* **Do not disassemble your GPU** unless you are confident and experienced.
Motherboard and Components
Give the motherboard a light dusting with compressed air. Avoid direct, prolonged blasts on specific components. For any stubborn grime on the motherboard surface, use a cotton swab lightly dampened with isopropyl alcohol, being very careful. You can also carefully remove RAM sticks and wipe their golden contacts with an alcohol-dampened microfiber cloth, letting them dry completely before reinserting.
Power Supply Unit (PSU)
**Caution: Do NOT open your PSU.** PSUs contain large capacitors that can hold a dangerous electrical charge even after being unplugged.
Instead, use compressed air to blow dust *into* and *out of* the PSU’s vents from the outside. If the PSU fan is visible from the exterior, you can gently wipe its blades.
Cable Management (Optional but Recommended)
Once everything is clean, consider tidying up your cables. Use zip ties or Velcro straps to bundle cables and route them neatly behind the motherboard tray. Good cable management improves airflow and makes future cleaning easier.
Exterior Clean-Up
Don’t forget the outside! Wipe down your case panels, monitor, keyboard, and mouse with a microfiber cloth and a mild electronics cleaner or just water.
—
The "Deep Dive": Thermal Paste
This step is more advanced and not necessary for every cleaning, but it’s crucial for sustained optimal performance.
When to Consider It
Thermal paste sits between your CPU (and sometimes GPU) and its cooler, helping transfer heat efficiently. Over time, it can dry out and become less effective. Consider reapplying thermal paste every 2-3 years, or if you notice consistently high CPU temperatures even after a thorough dust cleaning.
The Process (Briefly)
* **Remove the CPU Cooler:** Carefully unmount your CPU cooler from the motherboard.
* **Clean Old Paste:** Use isopropyl alcohol and a microfiber cloth